1. Log in to Google Cloud Console
2. Select/Create a new project:
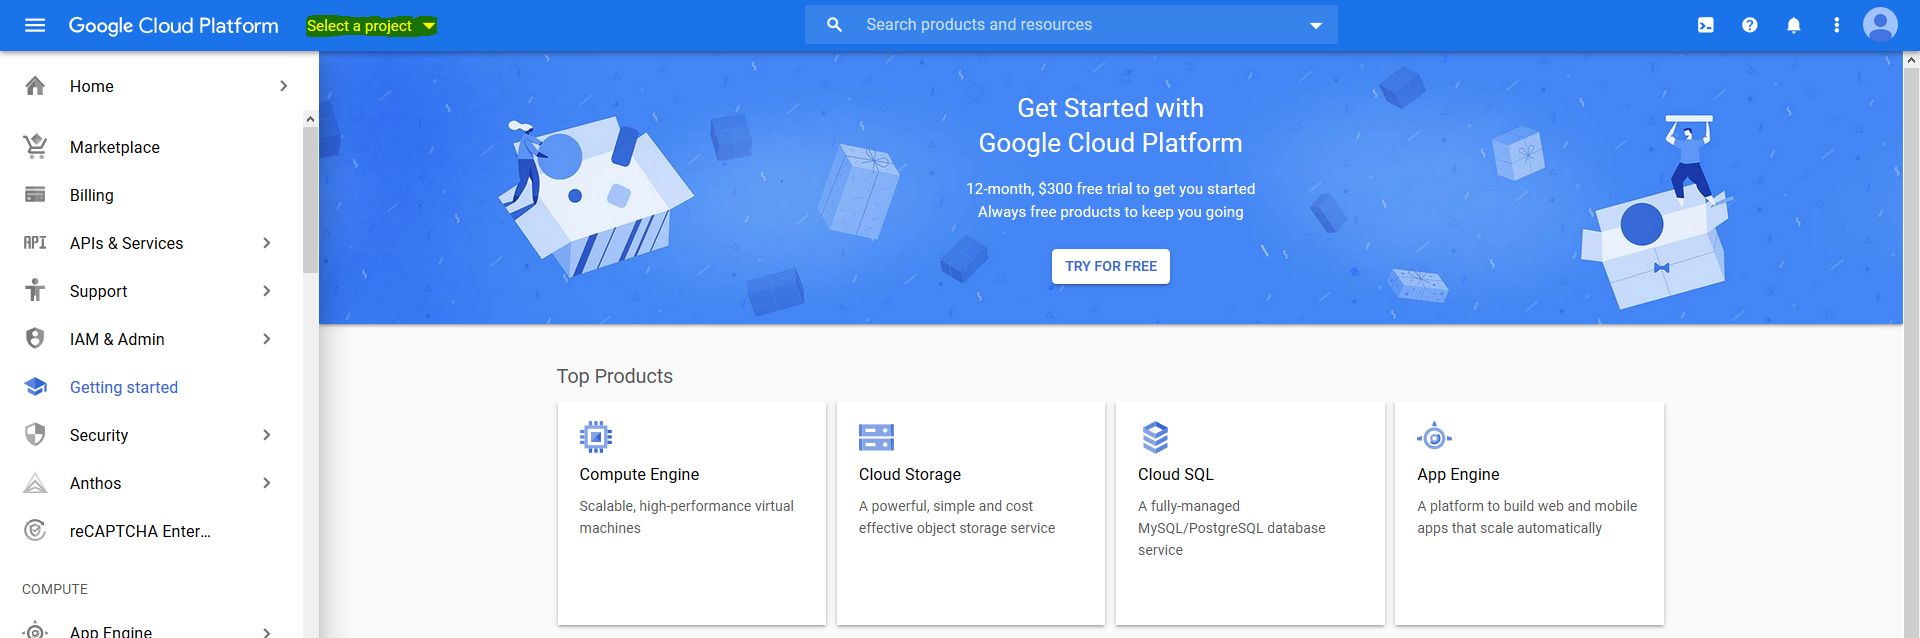
3. After clicking on the “Select a project” button as shown in image above, list of projects will be shown, and you may choose whichever you prefer (advance to point 4 if you would like to create a new project instead of using existing ones):
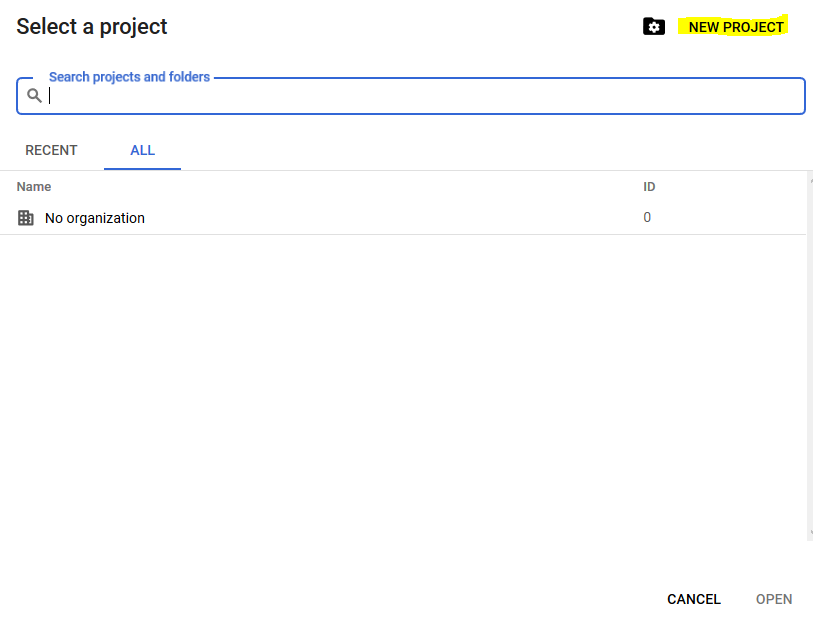
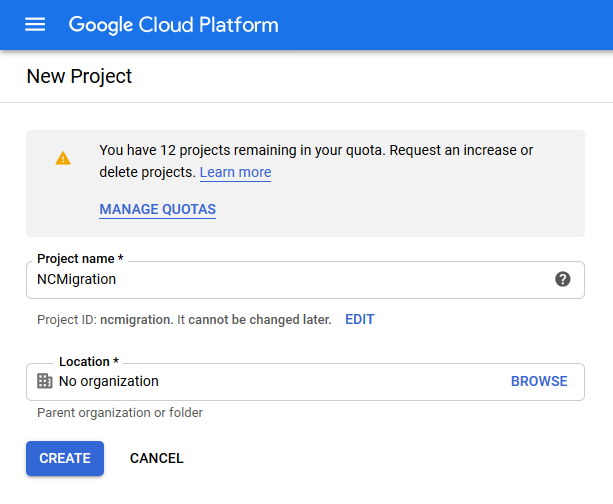
4. You may click on the “NEW PROJECT” button to create one. Choose a project name and click create:
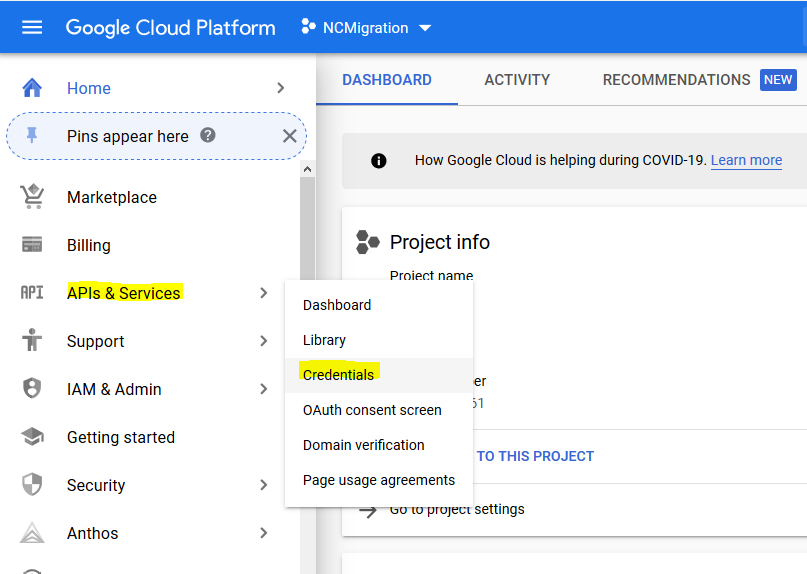
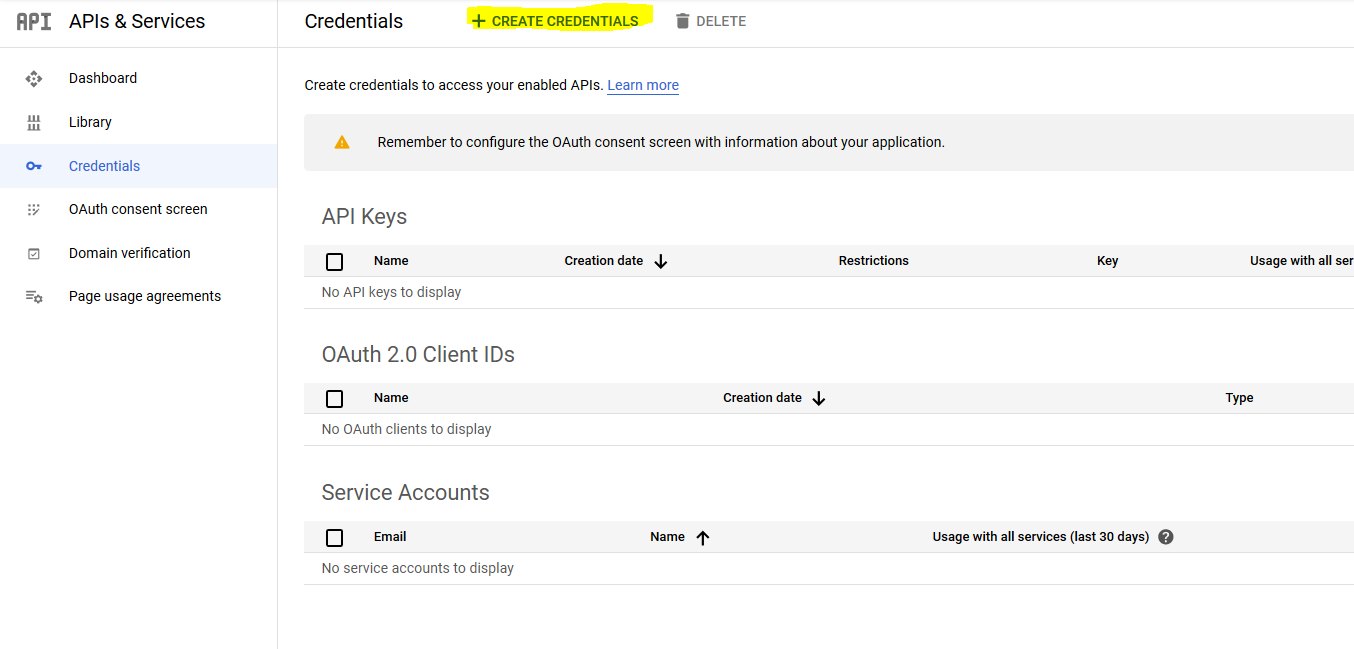
5. After successfully creating/choosing the project, click on “APIs & Services”, and then choose “Credentials”:
6. After opening the “Credentials” page, click on “CREATE CREDENTIALS” on top of the page:
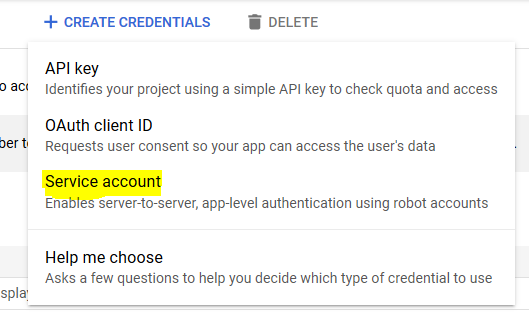
7. From the opened menu, click on “Service account”:
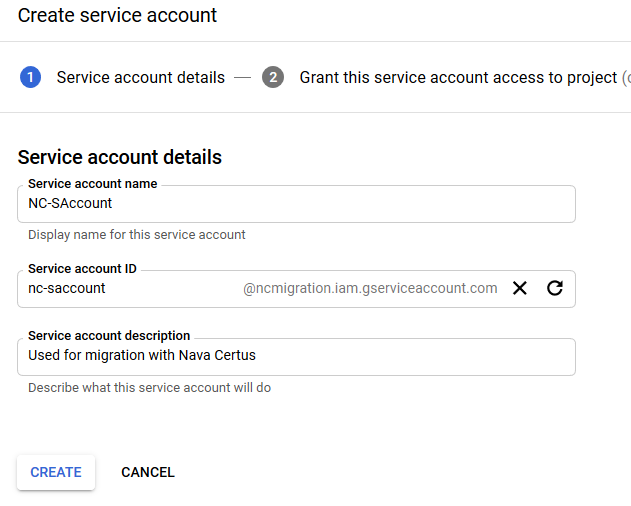
8. Type in a name for the service account to be created, and a description (optional), and click on “CREATE”:
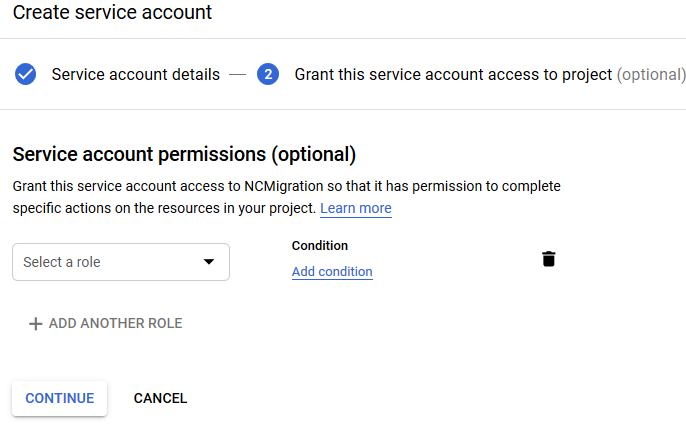
9. Click “CONTINUE”, as nothing needs to be changed here:
10. Click “DONE”, as nothing needs to be changed here either:

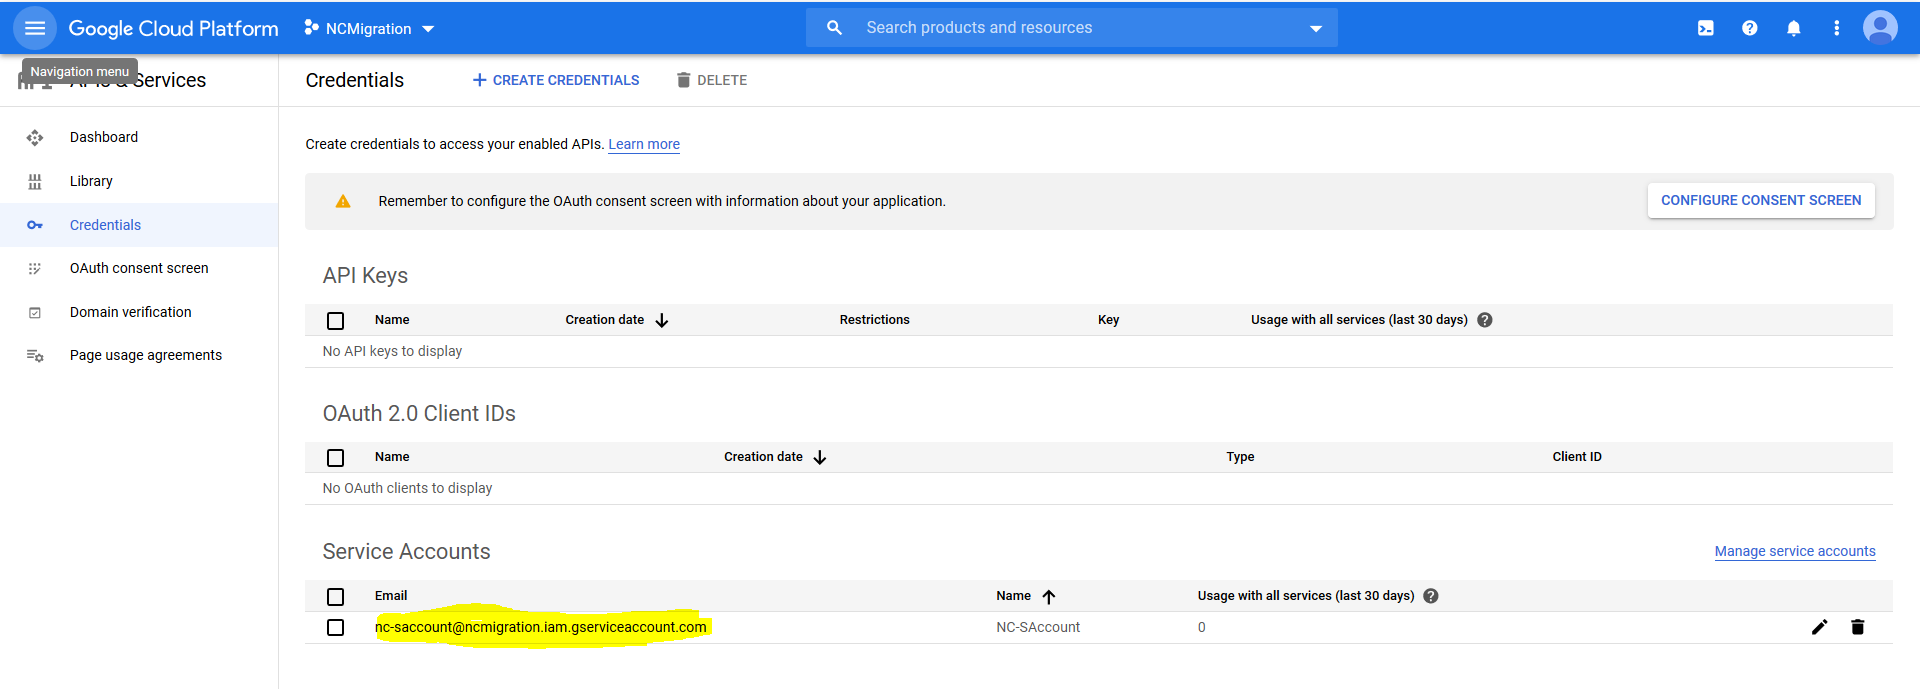
11. Now you can see the service account is created and added to the dashboard. We will need the email address shown under “Service Accounts” section later, during Nava Certus configuration:
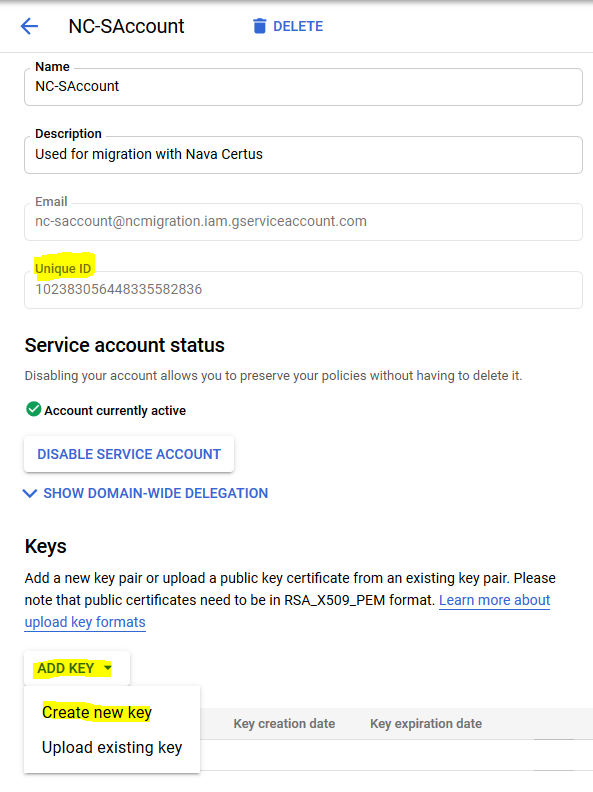
12. Now click on the newly created service account. On the opened window there are two things which will require your attention, the value in “Unique ID” field which will be used later (so it’s better to copy and paste it somewhere where it would be easily accessible for later use), and we will also need to add a JSON key using the “ADD KEY” button. Click on the “ADD KEY” button and then “Create new key”:
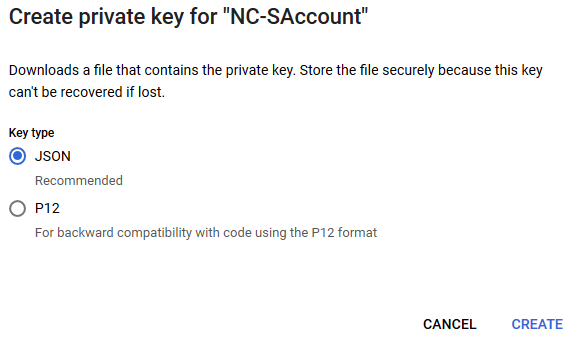
13. Choose “JSON” as the key type and click “CREATE”:
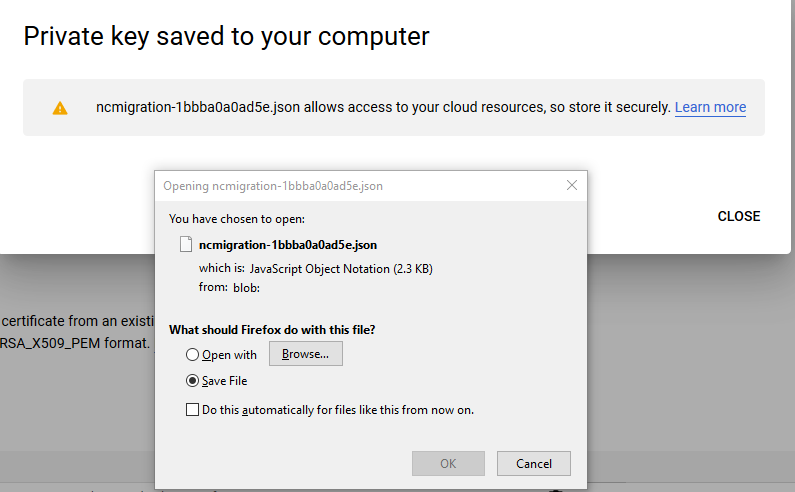
14. The JSON key will then be created and automatically downloaded. Please make sure that the JSON key is properly saved, as it will then be used for authorization by Nava Certus:
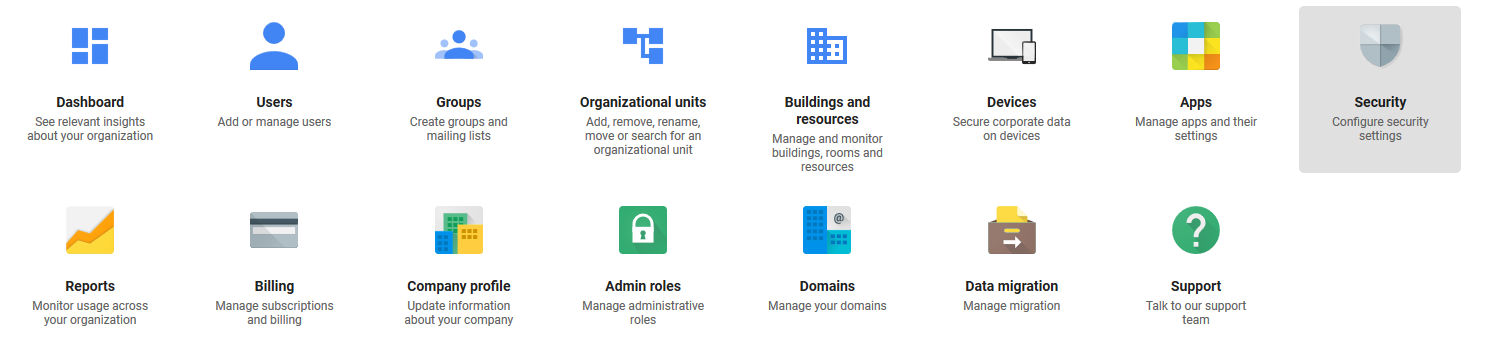
15. After saving the JSON key to your computer, open a new page on your browser and go to the G Suite admin page. On the admin page, click on “Security”:
16. Scroll down on the opened page, and click on “Advanced settings”:

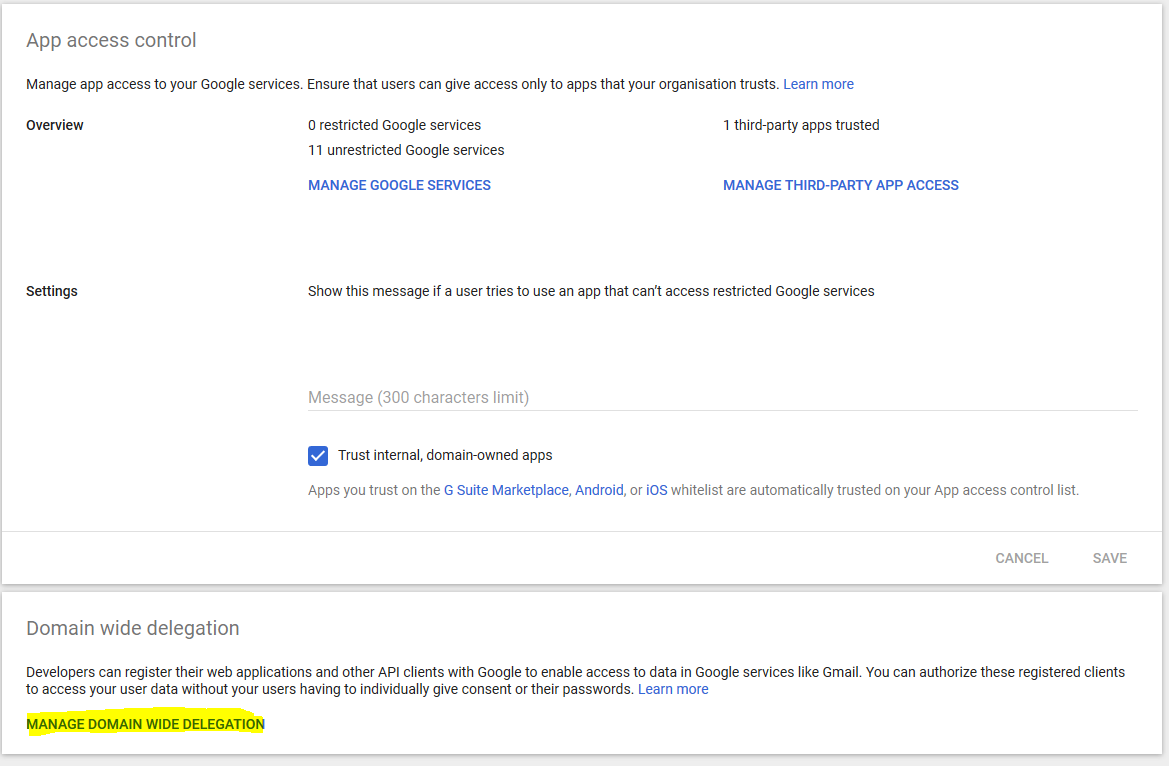
17. Click on “MANAGE DOMAIN WIDE DELEGATION” on the bottom of the page:
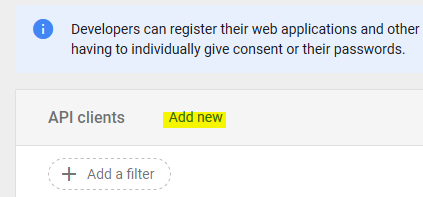
18. Here you will be required to add a new API Client using the service account created in the earlier step (12). Click on “Add new”:
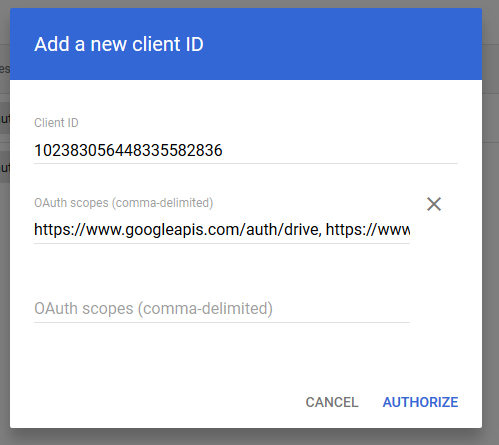
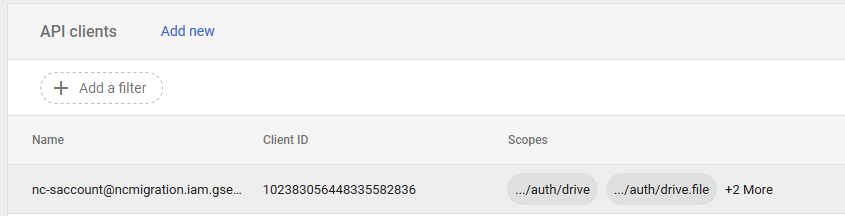
19. In the “Client ID” field, fill in the unique ID which was provided during creation of service account on GCP (step 12) and for the “OAuth scopes (comma-delimited)”, copy and paste the following: https://www.googleapis.com/auth/drive, https://www.googleapis.com/auth/drive.file, https://www.googleapis.com/auth/drive.metadata.readonly, https://www.googleapis.com/auth/drive.readonly and then click on “AUTHORIZE”:
20. Check if the new API client with corresponding scopes is added:
21. Done! You may now close all the windows and use your service account for Nava Certus. Please note that you will need the email address of the service account (shown how to obtain in step 11) during configuration of Nava Certus

0 Comments